

This year, springtime happens to be one of my favorites, especially since the arrival of my grandbaby Carlee Jane. Oh, I can't wait till she's old enough to play with me in the studio!
Springtime means new beginnings, the flowers blooming, trees budding and new babies. This week happens to be spring break from school, which makes it the perfect opportunity to spend some fun time making crafts together.
This is an easy kids craft project that uses air dry modeling clay and basic tools. Just follow the simple step by step instructions.
- This project is suitable for ages 4+ with adult supervision
- A easy and simple projects for group activities; Girl Scouts; Boy Scouts; Sleep Overs,Pre-school; youth groups and elementary education. It is also a great party activity
- Teaches basic shapes and proportion.
- Substitute polymer clay for airdry clay or make from fondant or gum paste for a cake topper or cupcake decoration
- (cost: Approximately $2-3 per child)
Cloud Clay is available in 4oz individual colors packages as well as in value packages of 4 colors (1oz each color)

- Cloud Clay Air Dry clay - Yellow, Orange and White
- Wiggle Eyes
- Kids safe markers
- plastic egg (optional)
- Toothpicks
- Scissors (child safe)
Tips on how to work with Cloud Clay:
- Since it's an air-dry clay, keep it under a moist towel while working with it.
- To store,wrap in plastic wrap and place into a zip-lock bag and remove the air before sealing tightly. Keep in a cool place away from heat.
- Cloud clay will bind to itself while wet. You can bond a "dry" piece to a wet piece by moistening the joints with a daub of water. You can also join two dry pieces together in the same manner.
- If clay becomes a little dry when working with it, add a drop or two of water and work in, it will come back to life. You have a several hour working window to complete your project so no need to rush!

Roll a 1" ball of white clay and press around egg to create the base. (you can also flatten the ball in your hands to create a bowl shape if you don't have an egg form) Cut a zig-zag pattern into the top of the egg with scissors

Body: Shape a 1 1/2" ball into a large teardrop shape and pull up on the point to form a neck

Place the egg base onto the bottom of the body.

Wing: Roll a 1" yellow ball into a log. Roll the log back and forth in the center to create a little dip.

Fold the log in half at the dip and press wings to body.

Feet: Shape a 1" orange ball into a teardrop shape. Pinch the sides together to form the web of the feet.

Place a small log at the top. Press each foot to body

Head: Shape a 1 1/2" approximate yellow ball into a triangle with dull points and press in the eyes
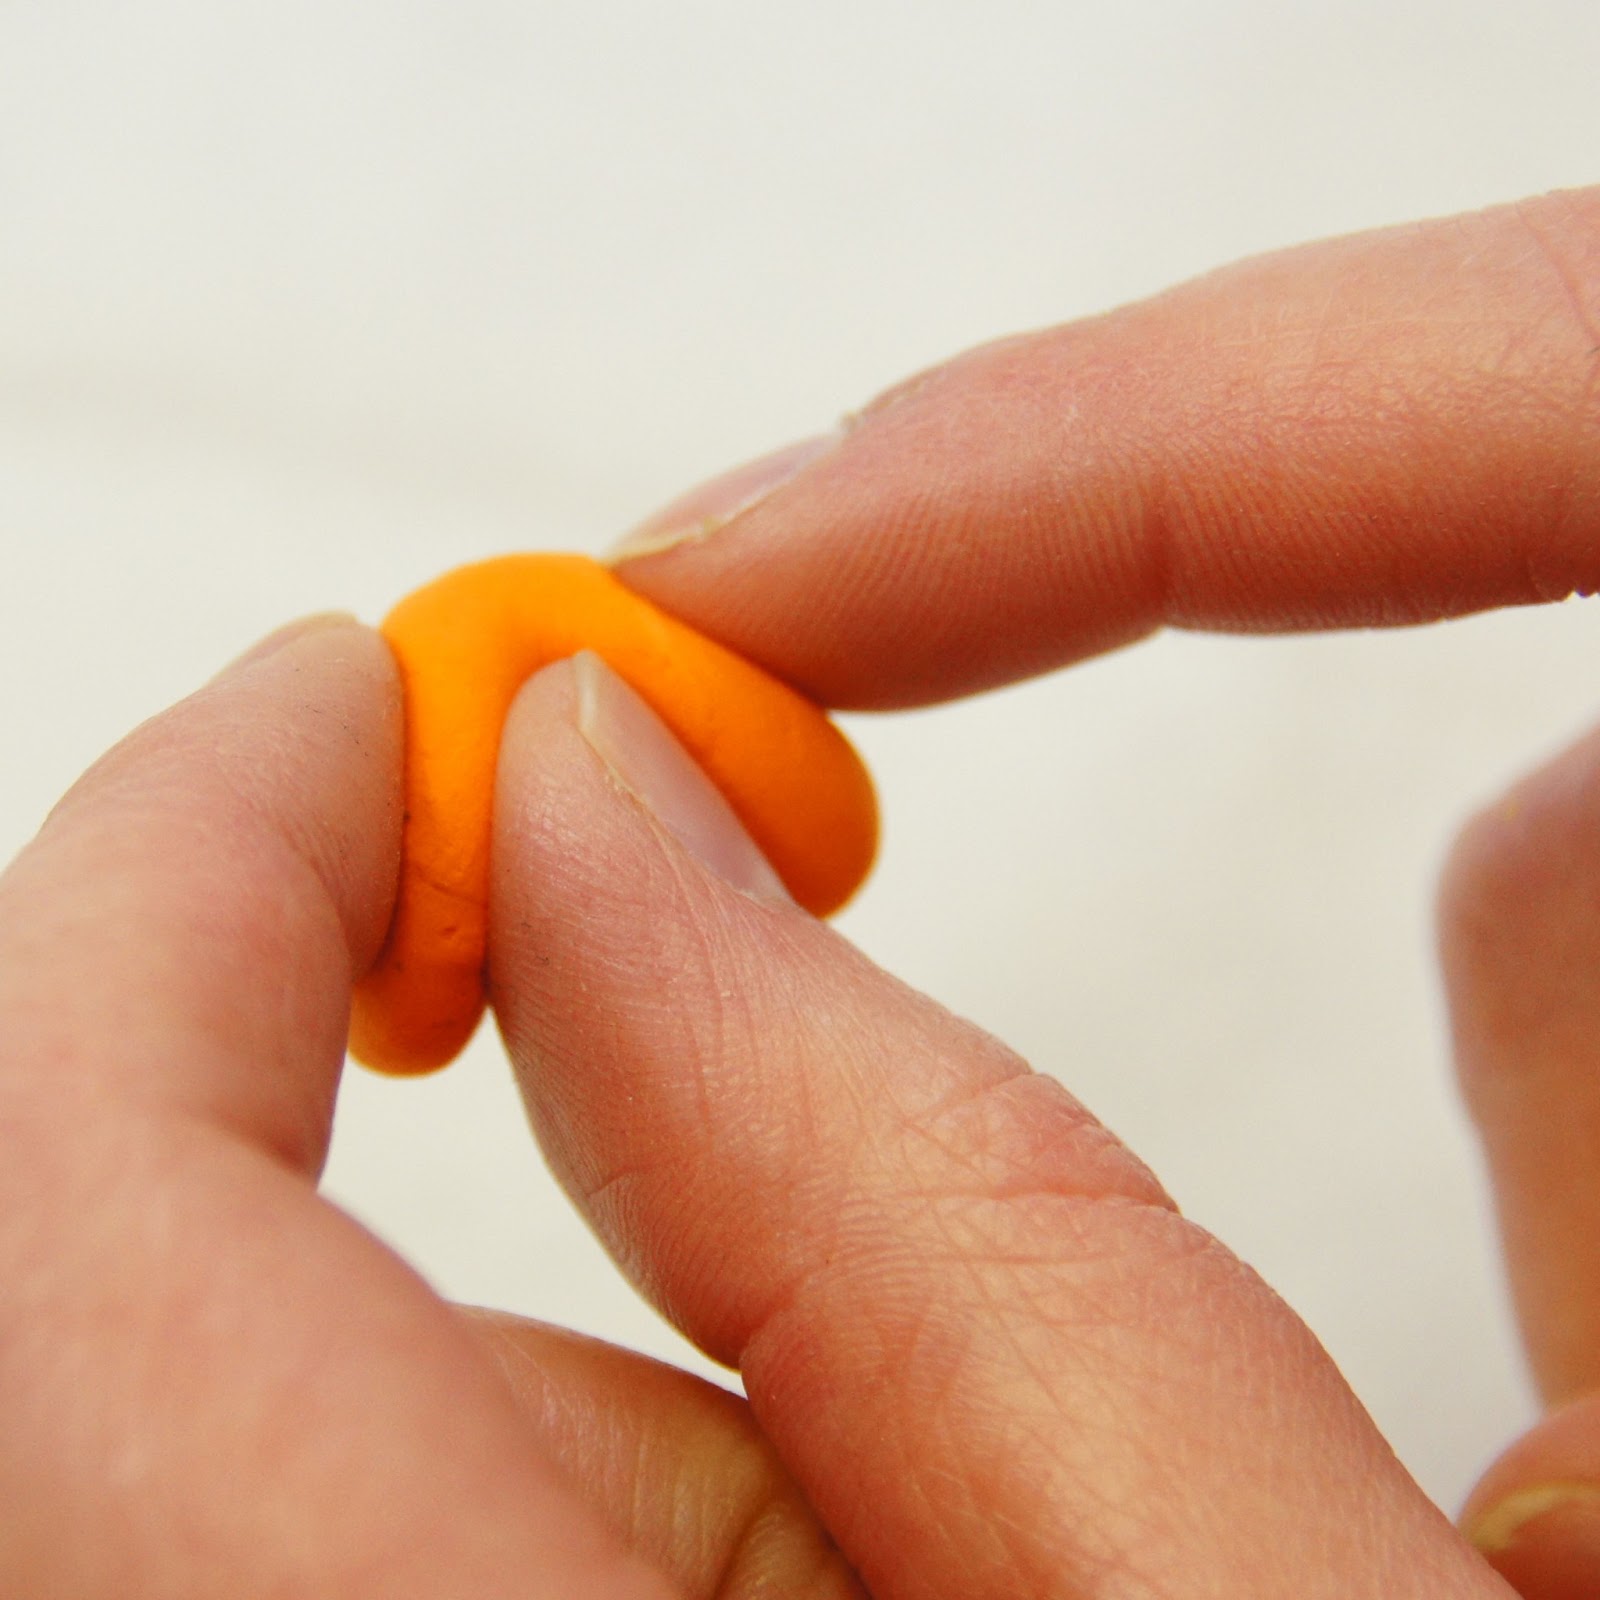
Beak: roll a log of orange and bend in half, pinch sides slightly

Press the beak onto the front of face.
You can vary the look of your chick by the size of the beak.
Add a little hat the same way you created the egg base

Shape letters from white logs of clay and color them with marker.
You can add any patterns you like to your letters.
This is where you can personalize your chick with your name or anything you wish
Make sure you sign your name on the bottom and date it. It will become a keepsake that will last a long long time!
(It doesn't usually happen, but if some part of your chick should come apart, you can attach it back with a little water or white craft glue)
I've assembled over 30 more projects for you to enjoy this spring! From bird cages, birdhouses, flowers, bunnies and more I'm sure you'll find something you love.

1 comment:
This is adorable! Thank you so much for joining the linky party!
Cheers,
Margot
Post a Comment