
Just in time for summer! Enjoy this project courtesy of Amaco and Favecrafts.com
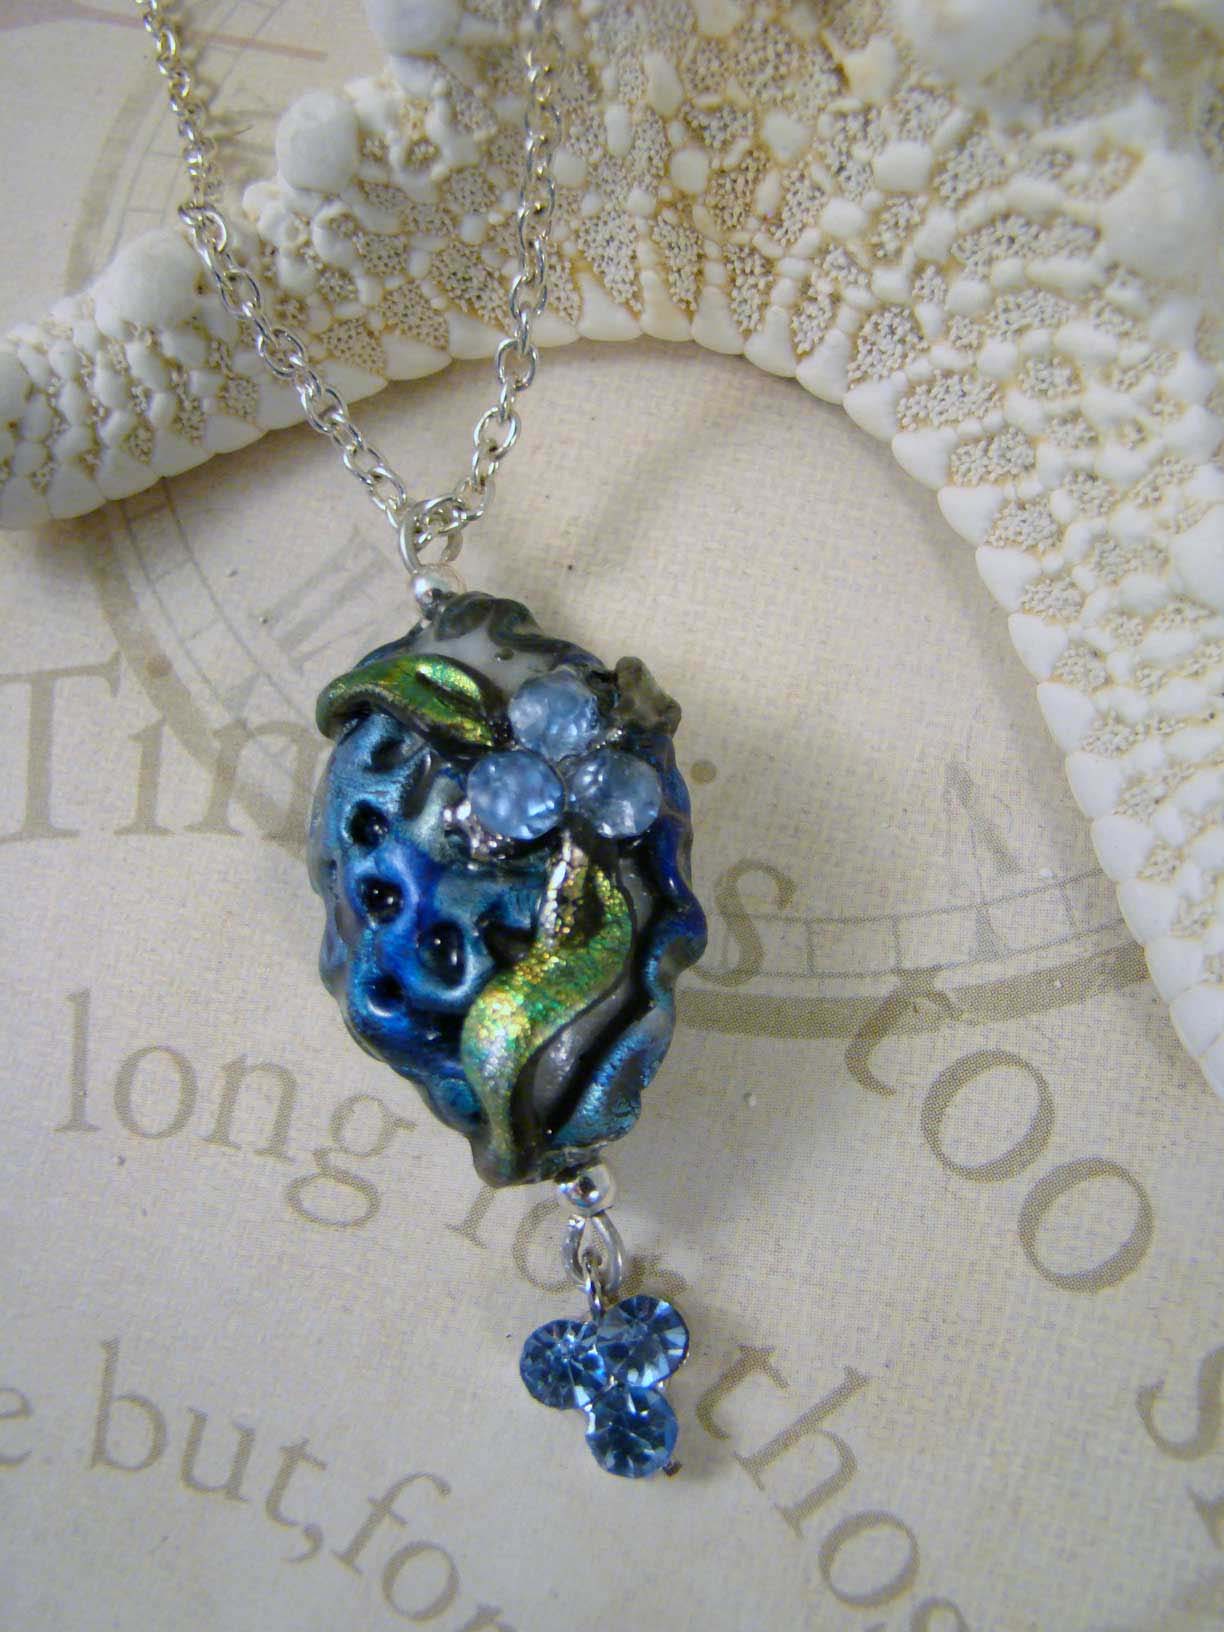
If you love the color blue and you love blueberries this is the perfect craft for you. Make your own jewelry piece. Flaunt your new necklace or bracelet, be proud of what you created.
Materials:
- Friendly Plastic – 1 oz pellets
- ProBead Roller - #6 Oval (optional)
- Friendly Plastic Sticks – advocado/black, metallic turquoise/blue
- Needle Tool
- Pearl Ex Powder – pearl white
- Two Eye Pins
- E-6000 glue
- Chain
- Accent Beads of choice
- Toggle or clasp
- Griddle
- Heat Gun (optional)
- Non-stick cookie sheet
- Ball tipped metal stylus – small/medium size
- Silpat – non stick cookie mat
- Bowl of Cold Water
- Scissors (Tim Holtz – work the best to cut plastic)
- Pliers
- Baby Oil
Tip: Set griddle to approximately 160 to 180 degrees. Melt Pellets on non-stick sheet until clear. Add a small amount of baby oil to hands and tools to prevent sticking. Use caution when working with the griddle and Friendly Plastic to avoid injury. If Friendly Plastic bubbles it is too hot, remove from heat and lower temperature of griddle.
Instructions:
- Working with Friendly Plastic requires a degree of heat and cold water. Generally with each application of heat, there is a cooling in water to set that particular area. That way I can work on a specific area at one time without distorting other areas.
- Mix a small amount of Pearl-Ex Powder into the melted pellets. This does not need to be completely mixed as it will create a marbled effect.
- Reheat plastic as necessary to soften and continue mixing. When mixing is complete, place plastic onto non stick cookie sheet and heat completely on the griddle.
- Cut three 1/8” x 2” wide strips of advocado green and a 1” square of turquoise.
- Add a drop of oil to silpat and heat turquoise square. Once soft, press stylus into plastic just inside of edge and press outwards. This creates a scalloped pattern. Continue until you have a pleasing pattern. Cool completely in water.
- To create bead in bead roller: Make approximately a 1” ball, place it into the bead roller. Gently place the lid on and roll back and forth applying gradual pressure until bead forms. If bead does not completely form – add more plastic. If it squishes out the sides, remove some plastic then reheat and reform.
- To hand form a bead, simply roll into palm of hand and form a pleasing shape. Cool in cold water.
- Use heat gun for 5 seconds to lightly soften lacey plastic. Apply to base bead where desired. Use heat gun to manipulate the lace effect into place. Cool in water to set.
- Slightly heat green strips and apply to bead as desired. Cool.
- Heat the area for the jewels. Press in jewels. Cool.
- Using pliers, heat the end of eye pin and press into top and bottom of bead.
- Once cooled, remove eye pins and jewels. Secure in place with glue. Allow to dry.
- Add to chain along with any accent beads.
No comments:
Post a Comment